How to Add a Watermark to Photos
Protect your work and add a professional touch to images in a few simple steps
16. March 2022 by Bianca Palmer
Nowadays, images are one of the most commonly shared forms of content. While sharing images can be an excellent way to promote your brand or business, it also comes with the risk of having the images stolen or used without permission. Here's where watermarks come in, a simple yet effective way to protect your images and ensure you get the credit you deserve. In this article, find out more about watermarks and how to add a watermark to photos online.
What Is a Watermark
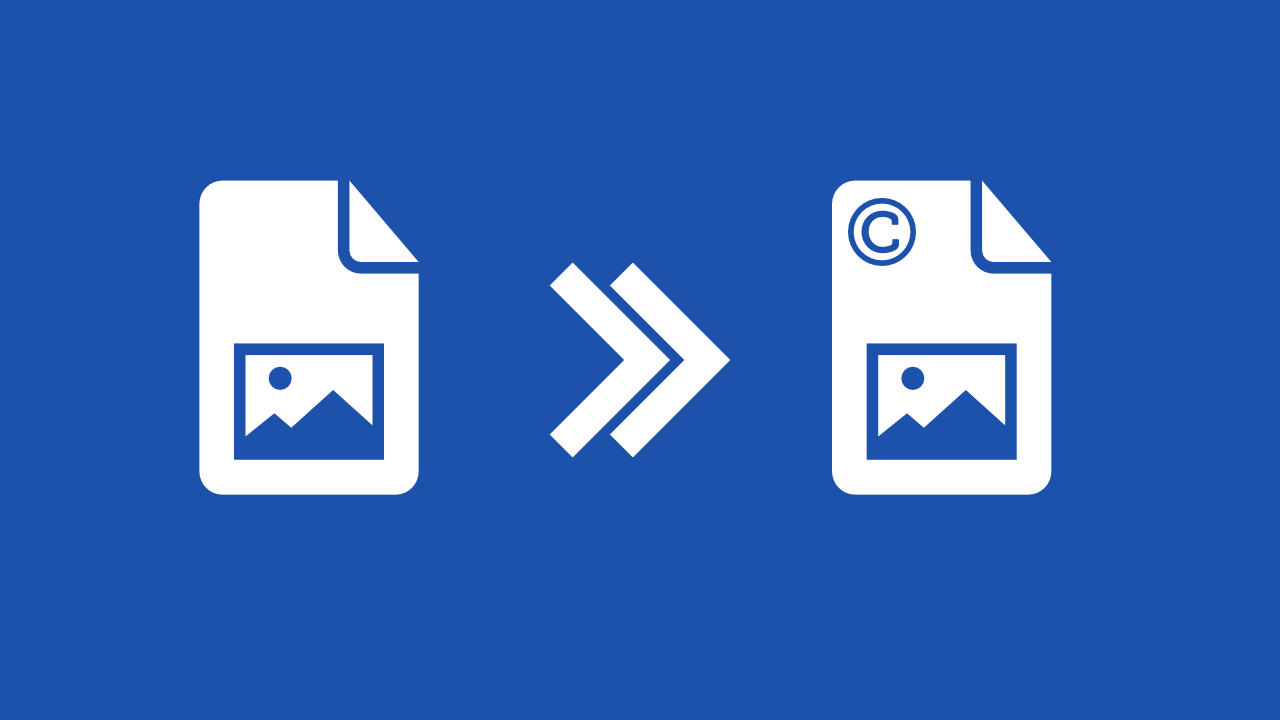
To identify the owner or creator of an image, a watermark is a visual element that is added to the image. It is often a logo, text, or symbol that is transparently or semi-transparently placed on top of the image. Watermark placement options include the corner, the center, and the margins of the image, and they may be customized to the creator's requirements.
The Importance of Watermarking Images
Watermarking images is an essential step in protecting your work and intellectual property. It not only identifies you as the creator or owner of the image but also helps prevent others from using your images without permission or credit.
Watermarks can also help to promote your brand or business by making your images easily recognizable and increasing your visibility online. Watermarking images can also help deter potential infringers and provide legal evidence in case of copyright disputes. Adding a watermark is a simple but effective way to safeguard your work and ensure you get recognition.
How to Add a Watermark Online
If you want to protect your images with a watermark but do not have access to expensive photo editing software, do not worry. A free online photo editor allows you to add a watermark to photos quickly and easily. Prevent unauthorized use, promote your brand, and add a professional touch to your work using Img2Go.
Here is how to add a watermark to your photos:
- Go to Img2Go.com and select the Add watermark tool.
- Upload the image you want to watermark. Drag and drop your file into the box or upload from your hard drive, Dropbox, or Google Drive.
- After your image is uploaded, you can choose to draw and add text, a logo, and different shapes to the image.
- Once you are done customizing your watermark, save your newly watermarked image by clicking the "Save As" button in the top right corner of the screen.
- From there, you have the option to choose the target format for your image, change the file name, and select the quality and DPI of the image.
- Then, simply click "Save" "Save"
There is the option to save the image in a variety of different image formats, as well as to save the watermarked image as a PDF document . This can be useful if you need to create a document with multiple images or if you want to include your watermarked image in a presentation or report.
Note: It is important to remember to save your progress frequently when working on your watermarked image. After making any changes, be sure to click the "Apply" button to save those changes. This will ensure that your progress is saved, and you can continue working on your image without losing any of your work.
Add Watermark to Photo Options:
- Draw - The draw option allows you to add a custom watermark to your image using a brush tool. Once you select the Draw option, you can choose the color, brush size, and type of brush you want to use.
- Add text - The text option allows you to customize the font, color, and placement of your watermark text. To add text, simply click on the "Add Text" button with a plus sign and double-click to edit the text. Customize the placement and appearance of the text. You can choose the font from the dropdown menu and use the options to duplicate, flip, bring to front, or delete the text.
- Add shapes - Highlight a specific area of your image or add a decorative element to your watermark. To add a shape to your image, simply click on the "Shapes" button in the toolbar. From there, you can choose from a variety of different shapes, including rectangles, circles, triangles, and more.
- Merge - Merge multiple objects in your watermarked image into a single object.
- Add - Add other files to the editor. In addition to uploading a file from your computer, you can also add files from a URL, Dropbox, or Google Drive.
- Fullscreen - View the watermarked image in full-screen mode. This is useful to inspect your watermark closely or preview how it looks on the image.
In addition to the fullscreen option, Img2Go's Watermark Image tool also includes zoom-in and zoom-out options, allowing you to adjust the size of the watermarked image in the editor.
Conclusion
Whether you are looking to promote your brand or protect your images, the Add watermark tool makes it easy to add the perfect finishing touch to your photos.
So why not give it a try? Experiment with different designs and see how a watermark can enhance the visual appeal and security of your images. With Img2Go's free online tool , you can create watermarks that help your photos stand out and protect your intellectual property at the same time.