Create Your Own Windows Desktop Icons
Customize your Windows PC by using your own desktop icons
18. October 2022 by Bianca Palmer
Today's operating systems offer many customization options. This allows users to configure and personalize almost anything. For example, they can create their own icons and personalize their desktops. In this article, we will explain how to do it in a simple way. Achieve a fully personalized Windows computer by turning any image you want into a desktop icon.
What is an ICO file?
An ICO file contains an icon commonly used for a Windows program, file, or folder. It stores one or more images in different sizes so that they can be scaled appropriately depending on their use. ICO files are similar to .CUR files, also used in Windows, and .ICNS files used in macOS.
All Windows executable icons are saved in ICO format. They are used for all kinds of computer icons like shortcuts, programs, directories, or items in the Start menu. ICO icons can contain 8-bit transparency and color up to 32-bit.
What images are suitable for icons?
Note that icons are square images of fixed dimensions. Windows ICO files typically store images ranging from 16x16 to 256x256. Older ICO files only contain images up to 48x48, which used to be the recommended Windows dimensions. However, most newer icons include images up to 256x256. It is recommended to store your icons in the largest possible size, that is 256×256 pixels. This way, zooming in and out on your desktop will always display the icons with maximum quality.
Create Your Own Icons
To personalize your desktop, you can create your own icons for different shortcuts and items on your desktop. Here is what you need:
- A PNG image (square)
- An ICO converter
There is no need to download any additional software to your computer. We will explain how to easily do it using Img2Go's PNG to ICO converter.
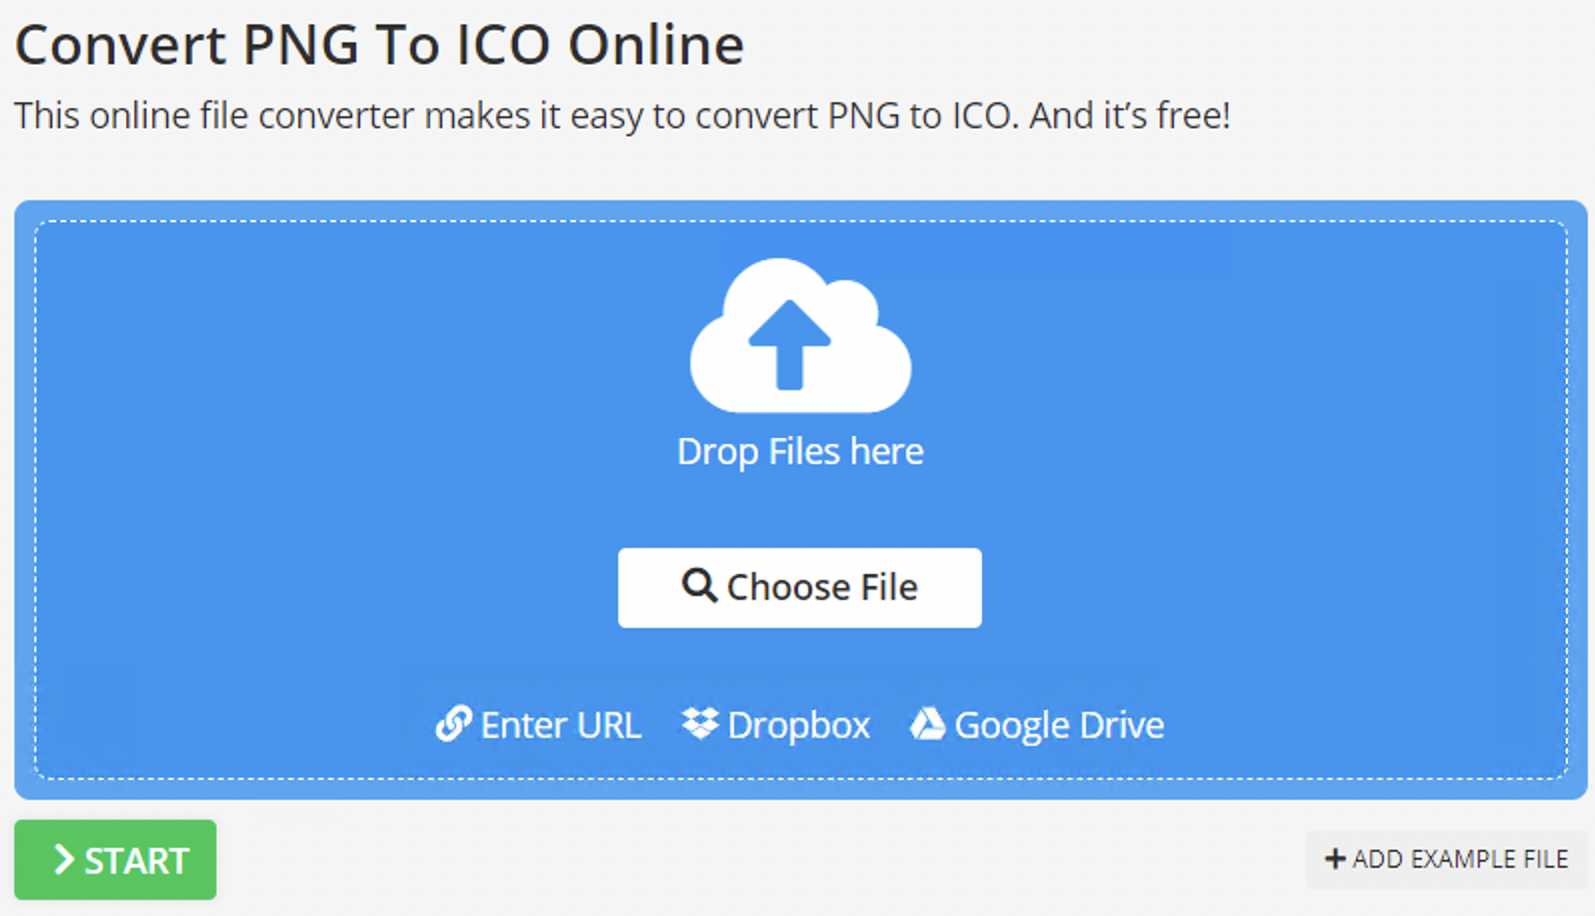
- Go to Img2Go's PNG to ICO file converter.
- Upload your image or, if you found one on the web, enter its URL.
- Set the icon size (width and height). Optionally, apply a color filter to your image, change the DPI value, and more.
- Click on "START".
After a few moments, your image will be converted and downloaded automatically. That is all you have to do. Just four easy steps. No installation and no complicated settings.
PRO TIP:
You can always use Img2Go's versatile and easy-to-use online image converter to convert your file into a PNG image.
- Go to Img2Go's image conversion tool.
- Drag and drop your file(s) into the upload area. Alternatively, use the buttons to browse your device, add a link, or use files stored on Dropbox or Google Drive.
- Select the output image format for the file conversion and any image editing options.
- Once you are done, click the "Start" button. Img2Go will take care of the image conversion for you.
How To Change Windows Desktop Icons
The process of changing the default desktop icons of Windows and other programs is the same in Windows 7, 8, and 10. We will explain how it works on Windows 10.
Change Basic Windows Icons
- Right-click on the desktop and choose "Personalize".
- In the Personalization window, go to "Themes" and then to "Desktop icon settings".
- Here you can select a basic Windows desktop icon and change it via "Change Icon…". Either choose one from the existing list of icons available in Windows or use your own by selecting it with the "Browse…" button.
Change Program Shortcut Icons
Changing a program shortcut's icon is even easier. All you need is the shortcut on your desktop.
- Right-click on the shortcut and go to "Properties".
- Go to the "Shortcut" tab.
- Choose "Change Icon…" and either select one from Windows or use one of your own via "Browse…".
Now that you know how to change desktop icons to your own icons, get creative and personalize your desktop.