Img2Go: Cinematic AI Image Prompts
Capture cinematic storytelling with AI Creator Studio
25. April 2024 by Bianca Palmer
If you're interested in creating cinematic visuals that engage viewers and tell compelling stories, you're in the right place.
In this blog, we'll explore how to craft prompts that unleash the full potential of AI Creator Studio. From mastering camera angles and shot types to choosing the right color grading and lighting, we'll share tips to help you create impressive cinematic AI images.
Get ready to learn, experiment, and unlock your creativity.
The Potential of Cinematic AI Images
Cinematic AI Images offer extensive opportunities for creators across many fields. From enhancing social media posts to designing engaging marketing materials. By using AI-generated realistic cinematic photographs, we can also explore animation, producing dynamic short films, cinematic trailers, and movies.
In short, cinematic AI images help us create visuals that bring ideas to life in powerful ways.
1. Camera Angle and Shot Type
The angle at which a scene is captured is highly impactful. It quietly shapes emotions and guides the viewer's gaze through the story.
Close-Up Shot:
A close-up shot is ideal for intimacy and detail. With the lens focused on the subject's face, every contour and expression is highlighted, drawing the viewer into the character's emotions. It's the perfect choice for portraying strong emotions and capturing realistic details.
Low-Angle Shot:
A low-angle shot is a technique that suggests authority and dominance. By positioning the camera below the subject and tilting it upwards, we increase their stature, making the subject appear taller against the scene. This perspective commands attention and respect, giving the character a sense of power and presence.
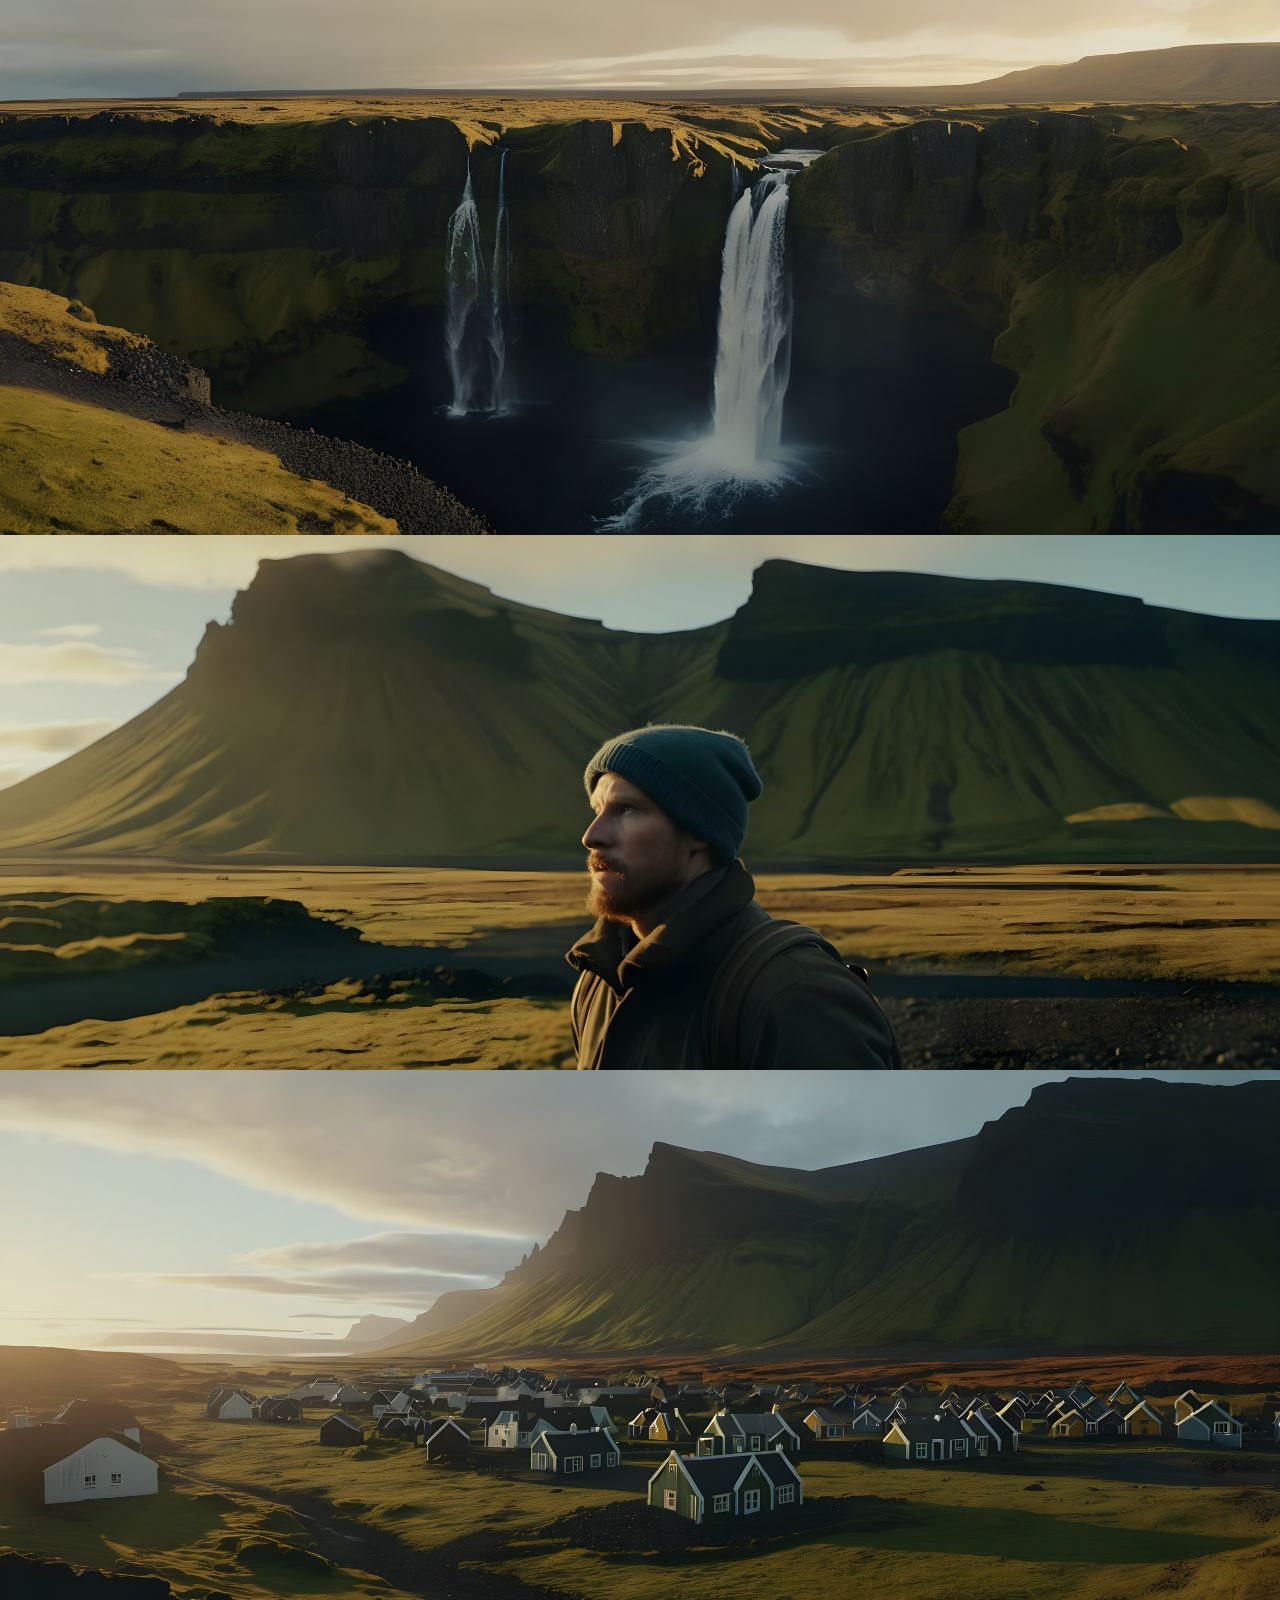
High-Angle Shot:
In contrast, a high-angle shot creates a sense of vulnerability and fragility. By placing the camera above the subject and tilting it downwards, we reduce their presence, making them appear small and exposed. This angle can evoke empathy and compassion, encouraging viewers to connect with the character on a deeper level.
Wide-Angle Shot:
A wide-angle shot captures a broad view of the scene. With its wide scope, it lets us explore the environment and immerse ourselves in the details of the setting.
TIP: Explore different camera angles such as ground-level shots, extreme close-ups, bird's-eye views, shots from behind, aerial shots, extreme long shots, over-the-shoulder shots, Dutch angles, handheld shots, and more.
2. Color Grading
Color gradingis the process of adjusting colors to create specific emotions and atmospheres, and is a key part of visual storytelling. It is the final touch that can turn a simple image into a cinematic scene.
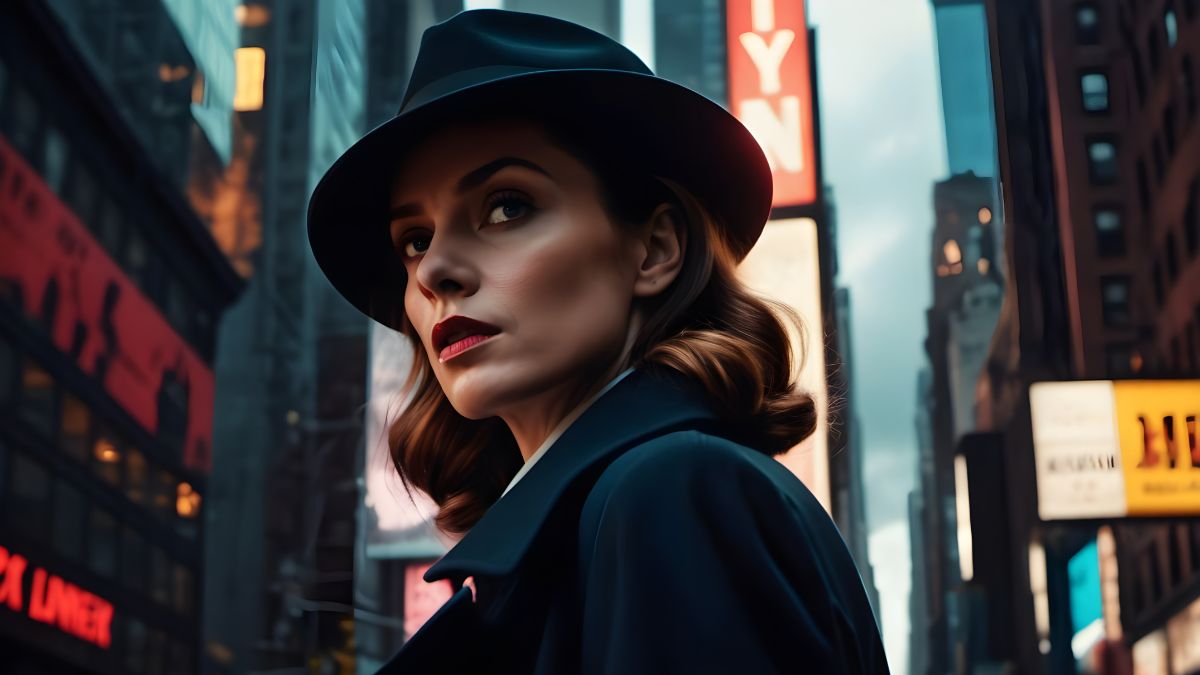
Cool Tone Grading:
Cool tone grading, using blue and gray hues, adds a sense of calmness and seriousness to the visual story. It encourages viewers to focus on moments of introspection and reflection.
Warm Tone Grading:
Warm tone grading adjusts the colors in an image to create a warm and inviting atmosphere. This often means enhancing reds, oranges, and yellows while slightly reducing blues and greens. The result can evoke feelings of coziness, nostalgia, or warmth, depending on the context and mood.
Black and White:
For those seeking a classic and timeless look, black-and-white grading is the way to go! Without color, the image becomes a clean monochrome, echoing the golden age of cinema and photography. It is a visual style that feels timeless and adds a sense of nostalgia and sophistication.
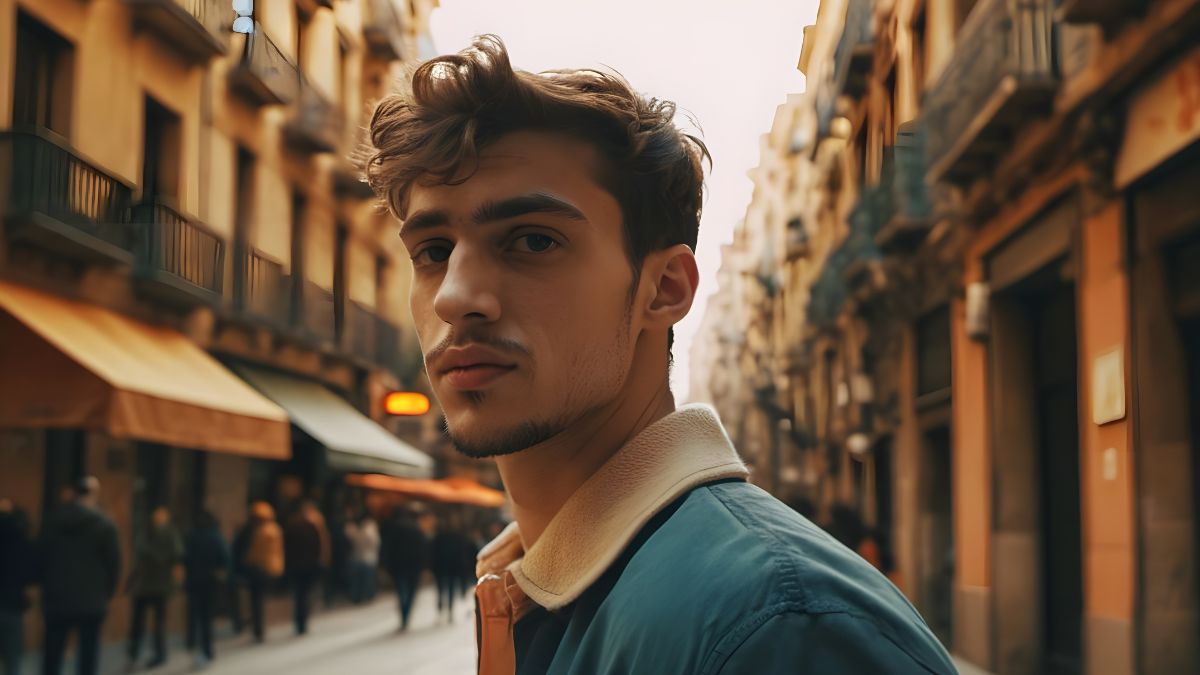
Vintage Tones:
Vintage tones, with their muted colors and faded charm, evoke a sense of nostalgia. Choose sepia-toned photographs or the retro vibes of the 80s. Vintage grading adds a layer of authenticity and charm to the scene, capturing the essence of a bygone era.
Other options include pastel color grading, bright color grading, vibrant color grading, neon color grading, duotone color grading, etc.
3. Lighting
Lighting is crucial in film and photography, as it dictates how subjects and scenes are perceived by the viewer. Well-planned lighting enhances details and texture while also shaping the mood and atmosphere of a frame.
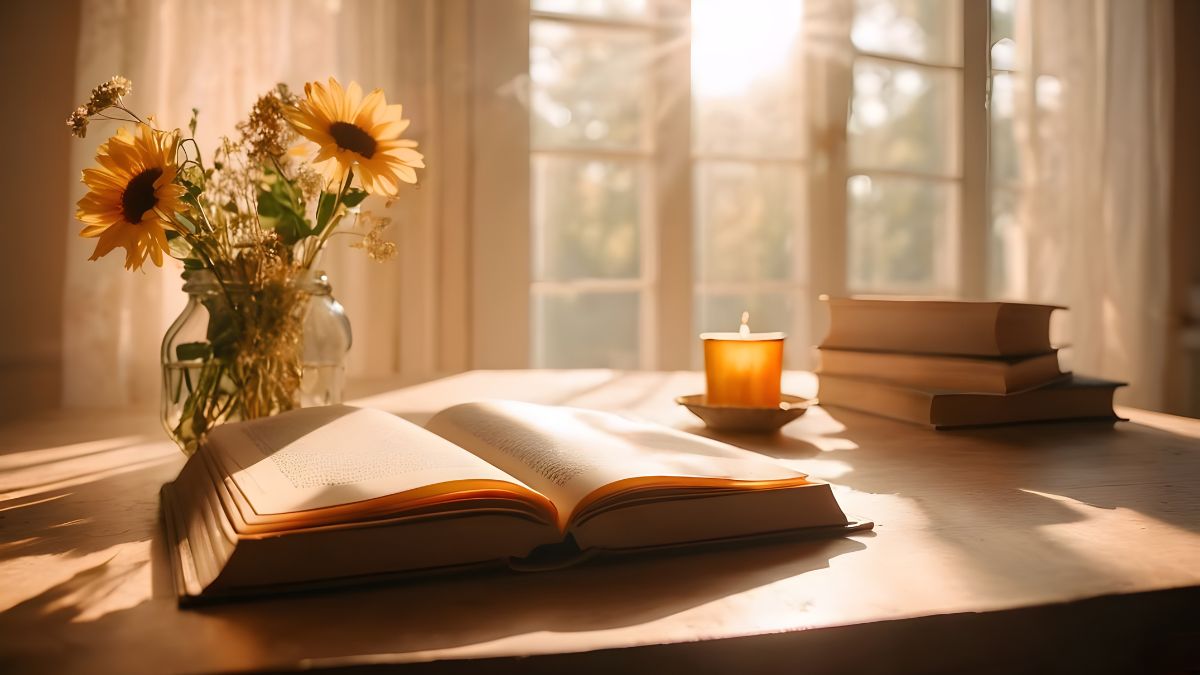
To start simple, try out different times of day, from morning to noon, sunset to nighttime. One of the best daytime keywords to try is the golden hour which is considered the best time of day to shoot photographs due to the soft, warm light that gives your images a golden glowing effect.
Experiment with different weather conditions to adjust the lighting. Switch between sunny, overcast, or foggy weather. Use the term 'natural lighting' as an effective keyword to enhance your images with a touch of sunlight.
Play with the placement of lighting in different areas. Backlighting involves positioning the light source directly behind your subject, bringing them into focus while dimming the surrounding scene. This technique often produces a radiant outline around the subject's edges, known as a halo effect.
Silhouette lighting also places a light behind the subject and removes all lighting sources from the front, so you get a dark figure with a bright outline around the silhouette.
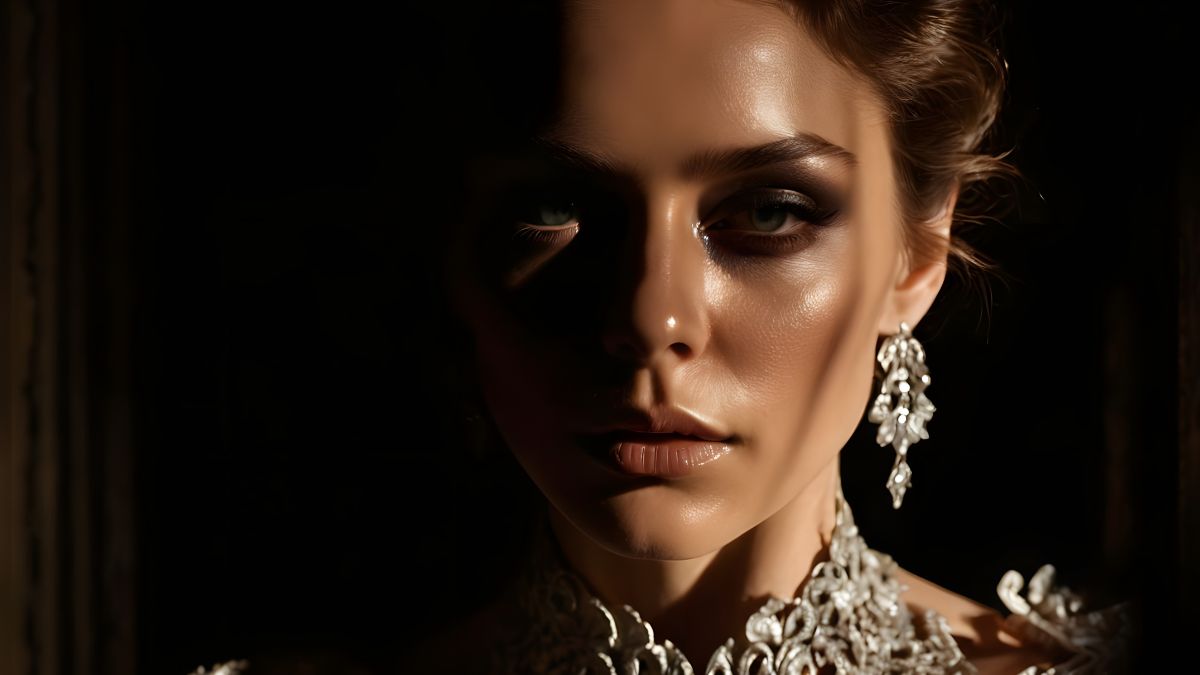
With realistic portraits, use the phrase 'shadows on the face.' This is one of the photography aesthetics that feels quite stylish, thought-provoking, and personal.
There are many different lighting styles to try, so do not be afraid to experiment and see what you can create. You will get the best lighting effects by combining multiple keywords!
Now, let's talk about adding flair to your images through styling.
4. Styling Your Images
Once you've chosen your main subject and covered the basics, it's time to add more flair to your images. You can make an immediate impact by prompting for different movie genres. Some common ones include horror, fantasy, sci-fi, indie, or Western.
Adding famous directors' names can also add an extra layer of style!
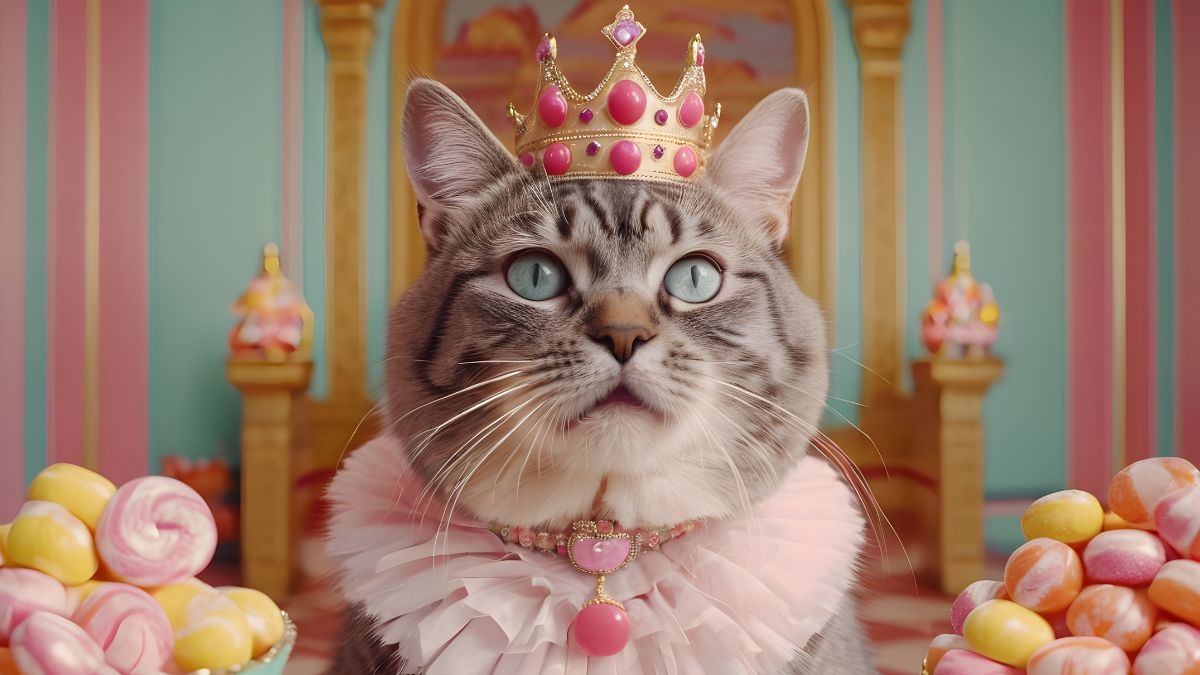
For example, Wes Anderson is known for his pastel color palette and retro film aesthetics:
Using phrases like 'cyberpunk' or 'neon punk' after style keywords is another useful trick:
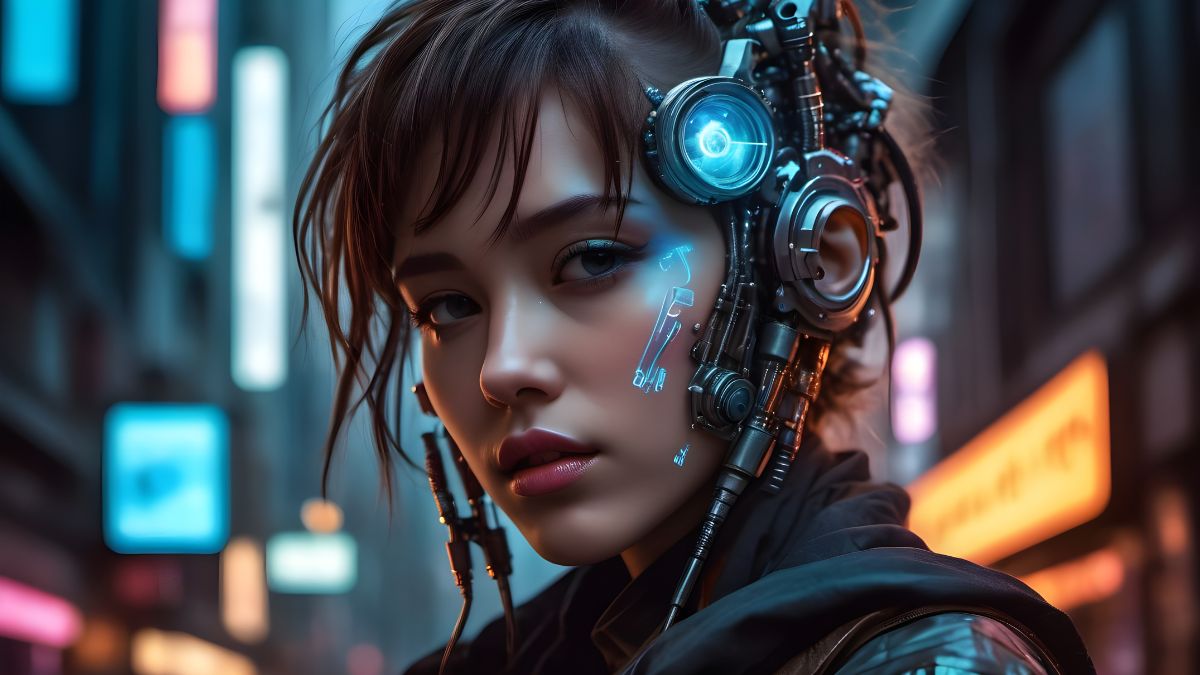
PRO TIP: Get even more impressive results by selecting the 'Cyberpunk' art style, exclusively available with our PRO subscription!
These are just some basic examples, but feel free to get creative with your prompts!
5. Camera Types, Lens, Film Stock
Another aspect to consider for realistic images is the camera type, lens, and film stock. These elements can make a huge difference in the realism of your image. For instance, trying a Polaroid camera can give your image a relatable and down-to-earth feel. Or try a disposable camera for a nostalgic touch.
When it comes to camera lenses and film stocks, adding phrases like '35mm' or '55mm' at the end of your prompt can help generate images with a realistic photography look.
For film stocks, brands like Kodak Portra, Fuji film, or Lomography can add cinematic flair to your images. Experimenting with different brands and types can lead to unique and captivating results.

PRO TIP: In the Prompt Editor under the "Film selection", you can easily choose from a variety of options such as Kodachrome, camera obscure, double exposure, black and white, Polaroid scan, and more. Experimenting with these settings can lead to unique and captivating results!
Prompt Structure
Prompting for cinematic and realistic images requires careful consideration of various elements. A well-crafted prompt can significantly influence the outcome of your image.
Here's a template you can use to structure your prompts:
Cinematic still of [Subject] in [Setting], [Camera angle], [Lighting], [Style], [Movie Genre], [Color Grading], [Cinematic effect]
In this template, you can fill in the blanks with specific details relevant to your desired image. Always consider elements such as the subject matter, camera angle, color grading, lighting, genre, style, and camera type to create a comprehensive prompt.
An additional template to consider:
[Type of scene] [Lighting style] [Mood/Genre] [Detailed scene description] [Main elements in the scene] [Color palette] in the style of [film] directed by [director]
TIP: Simplify your workflow! Just copy and paste the template into ChatGPT to generate prompts in seconds!
Cinematic Aspect Ratio
By default, AI Creator Studio generates square images with a 1:1 aspect ratio. This format works well for various platforms and social media posts. However, if you're aiming for a more cinematic look, consider using the 16:9 aspect ratio. This ratio is commonly used for monitors or TV screens, providing a wider canvas for your images.

Additionally, you can opt for the 21:9 aspect ratio, also known as ultra-wide or widescreen. This aspect ratio offers an even broader field of view, ideal for creating immersive and cinematic visuals. It's often used in film production and gaming to enhance the viewing experience.
In Conclusion
By understanding the fundamentals of camera angles, color grading, lighting, and styling, create images that evoke emotion, tell stories, and transport viewers to new worlds.
With the power of Img2Go's AI Creator Studio at your fingertips, the possibilities are endless. So, experiment, explore, and push the boundaries of creativity. Whether you're aiming for a classic black-and-white aesthetic or a futuristic cyberpunk vibe, the key is to craft prompts that spark imagination and inspire awe.
So go ahead, unleash your creativity, and bring your vision to life. Happy creating!