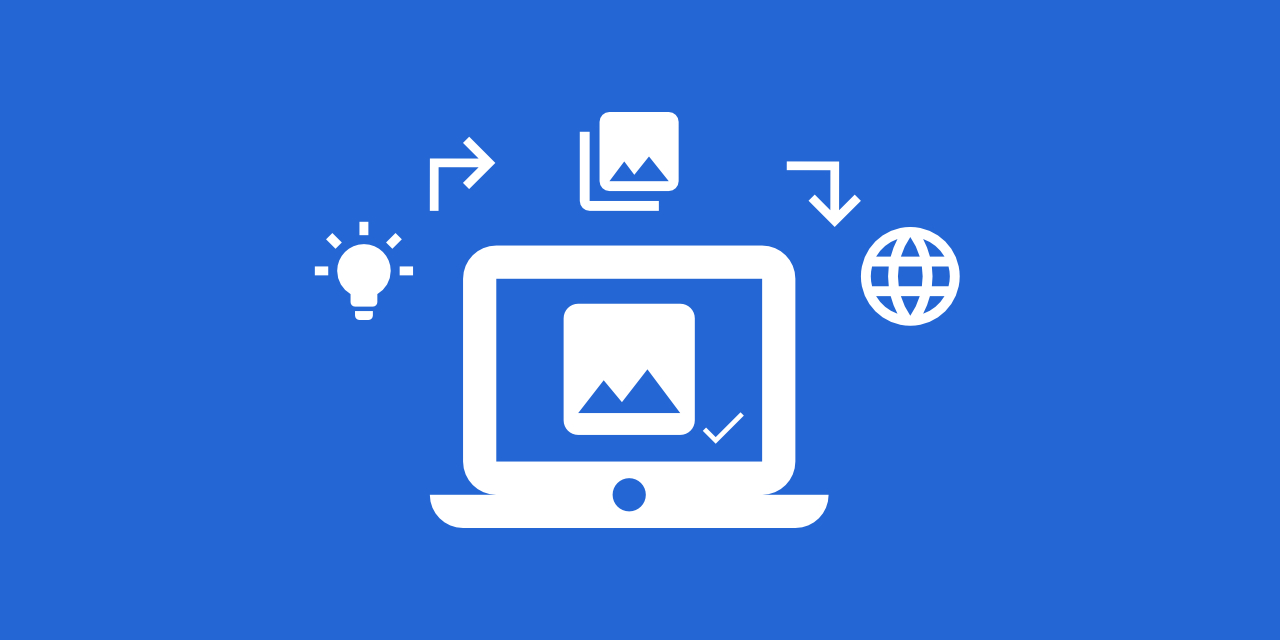
How to Optimize Images for Web Performance
Improve loading times and user experience with better image optimization
07. May 2024 by Bianca Palmer
Images are a key part of website design, improving both appearance and user experience. However, if images are not optimized properly, they can slow down your site and frustrate visitors. Poor image optimization can also hurt search engine optimization (SEO), as search engines like Google prefer fast-loading websites. Therefore, it is important to understand how to optimize images for the web without compromising image quality.
Choosing the Right Tools
While there are many WordPress plugins for image optimization, adding more plugins can slow down your site and make maintenance harder. Instead, it is better to optimize images before uploading them. This reduces load on your server, especially if you use shared hosting.
Affinity Photo
One useful tool for optimizing images is Affinity Photo, a cost-effective alternative to Photoshop. With Affinity Photo, you can reduce image file sizes efficiently without losing quality.
Step-by-Step Optimization Process
Step 1: Open Image in Affinity Photo
Open the image you want to optimize in Affinity Photo. Right-click the image file, select "Open With," and choose Affinity Photo.
Step 2: Copy Image
Make sure your image layer is selected, then press "Command+C" (Mac) or "Ctrl+C" (PC), or go to "Edit" and click "Copy."
Step 3: Create New Document with Web-Friendly Dimensions
After copying the image, create a new document with suitable dimensions:
- Go to File > New
- For a standard full HD display, use dimensions like 1920x1080 pixels. For higher-resolution displays like retina, 4K, or 5K screens, consider dimensions like 2560x1440 pixels.
- Set the DPI to 144, which is suitable for web use.
Step 4: Paste Image and Resize
Since you have already copied the image, go to Edit > Paste, or use "CMD + V" on Mac and "CTRL + V" on PC. Select the move tool (the arrow in the toolbar) and resize the image so it fits the canvas without empty space.
Step 5: Export Image
- Go to the File menu and select Export.
- Choose the JPEG format, commonly used for web images.
- Adjust the quality level to balance file size and image quality. Aim for a target file size of 300-400 kilobytes or less.
- Give the file a descriptive name and choose where to save it.
Your optimized image is now ready for the web, with a smaller file size that helps your pages load faster.
Step 6: Further Optimization (Optional)
For WordPress users, consider converting the image to the WebP format for better performance. You can also use online image compression tools for additional optimization if needed.
Enhancing Image Optimization with Img2Go
While premium software like Affinity Photo offers strong image optimization features, there are also free solutions for smaller budgets. One such platform is Img2Go, a versatile online editor and converter that makes image optimization easier.
How to Optimize Images with Img2Go?
Img2Go's Compress Image tool offers a simple and efficient way to optimize your images for web performance.
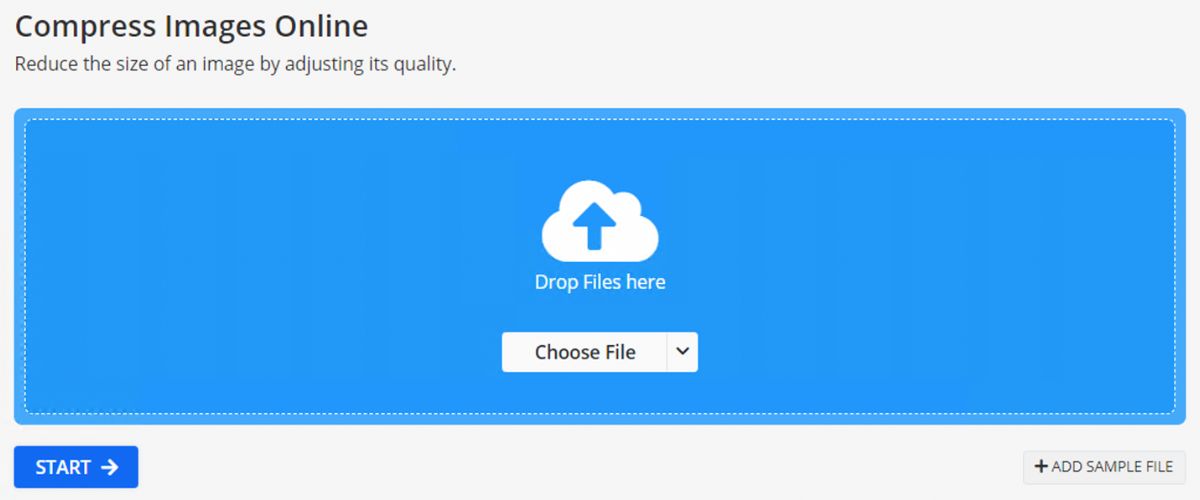
Follow these steps to get the most out of this tool:
- Upload Your Image: Upload your image file by selecting it from your computer or dragging it directly onto the Compress Image tool interface.
- Adjust Quality Settings: After your image is uploaded, you will see different quality settings. Aim to balance smaller file size with acceptable image quality. You can choose from options such as:
- Best Quality: This setting keeps your image looking almost identical to the original while still compressing it.
- Smallest File: Use this option for maximum compression and the smallest file size. This may cause a slight loss of image quality.
- Quality Adjustment: Set the desired quality for the output image. Higher quality means larger files; lower quality reduces file size.
- Choose Compression Format: Select the compression format for your optimized image. Img2Go lets you compress images to JPEG, which is widely supported and ideal for the web.
- Resize Images (Optional): Besides compression, the Compress Image tool also lets you resize images as needed.
- Save Optimized Image: Save the optimized image with a new name to distinguish it from the original. This helps you easily find and use the optimized version on your website.
Img2Go offers a cost-effective, user-friendly, and versatile solution for image optimization. With its intuitive interface, you can quickly resize and format images for different devices and viewing contexts. If you only want to resize your images, you can also use the Resize Image tool.
PLUS: With Img2Go's versatile online image converter, you're not just limited to converting JPG to PNG or PDF to JPG. You can also seamlessly convert your images to WebP format! Simply upload your image, choose your target format, select any optional settings, and convert your images in no time.
Where to Find Quality Images for Your Website?
When looking for high-quality visuals for your website, consider using dedicated platforms like Pexels, Unsplash, or Pixabay. These websites offer a large selection of high-quality stock photos that can complement your website's content. However, there is another option worth exploring!
AI Creator Studio by Img2Go: Generate AI Images with Ease
Discover a new way to create images with AI Creator Studio by Img2Go. Instead of relying only on stock photo websites, you can now use artificial intelligence to generate custom images in a few clicks!
More on: How to Use the Img2Go AI Art Generator
TIP: Upgrade to a Premium Subscription - Go PRO and get exclusive access to premium stock photo style, so you can easily generate images with a stock photo look.
Benefits of Generating AI Images with Img2Go
No Copyright Concerns: One key advantage of using AI-generated images is that you don't have to worry about copyright issues. Since the images are created algorithmically, there are no licensing restrictions, so you can use them freely for personal and commercial projects.
Customization Options: AI Creator Studio offers a range of customization options, so you can define the style, colors, and elements of the generated image. This control helps you create visuals that match your website's branding and design.
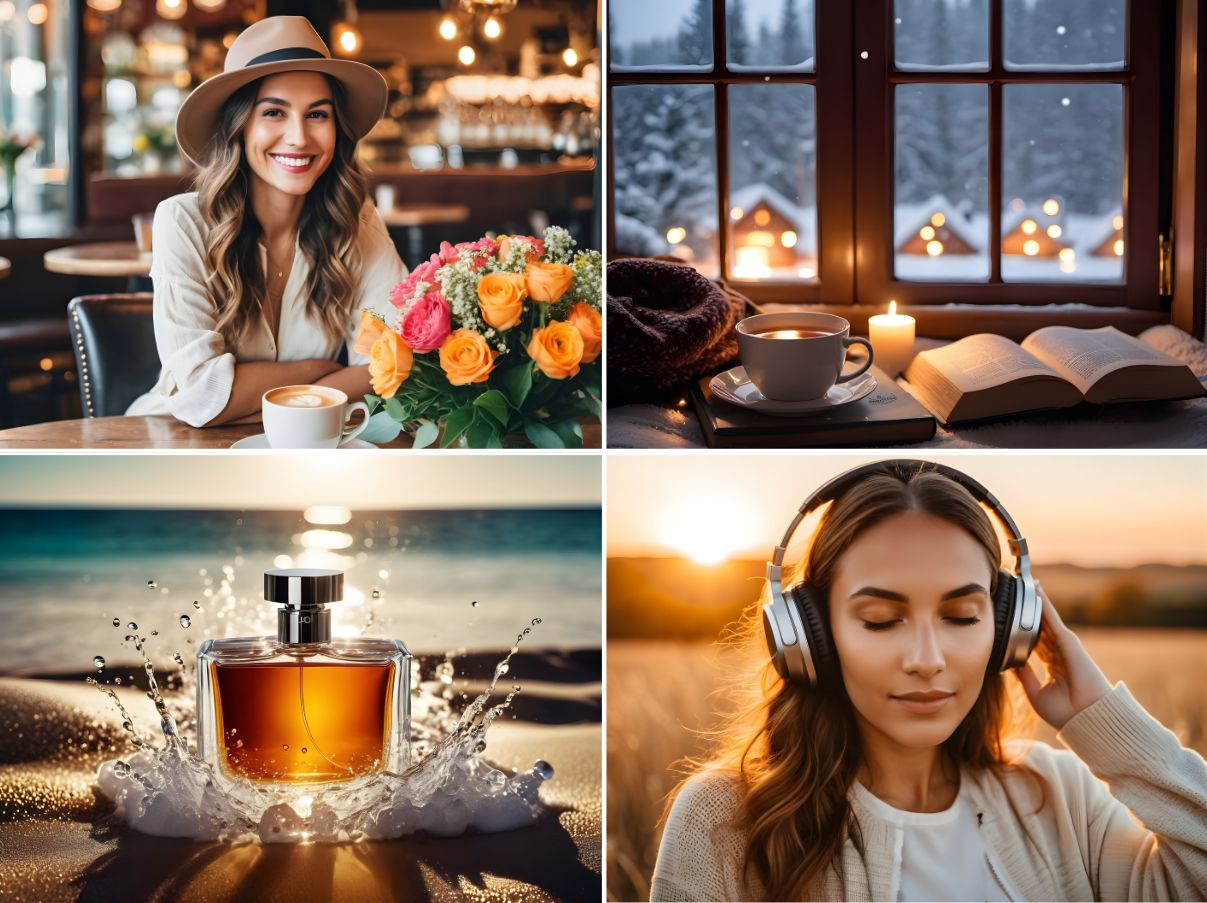
Images generated using AI Creator Studio from Img2Go. Easily create custom images for any website theme!
Fresh and Unique Content: By generating AI images, you can access a wide range of fresh and unique content for various applications.
Time and Cost Efficiency: Generating AI images is a time-efficient and cost-effective way to get quality visuals. Instead of spending hours searching for the right stock photos or hiring a photographer, you can quickly create custom images tailored to your needs.
In Conclusion
Optimizing images is important for improving website performance and user experience. With the tools mentioned, you can resize and compress images efficiently without losing quality. You can also explore AI Creator Studio by Img2Go for limitless creative possibilities in image generation!
By using these techniques, you can achieve faster loading times, better SEO rankings, and a visually engaging website that stands out from the competition.