Key Factors for Printing High-Quality Stickers
A Complete Guide
05. August 2025 by Bianca Palmer
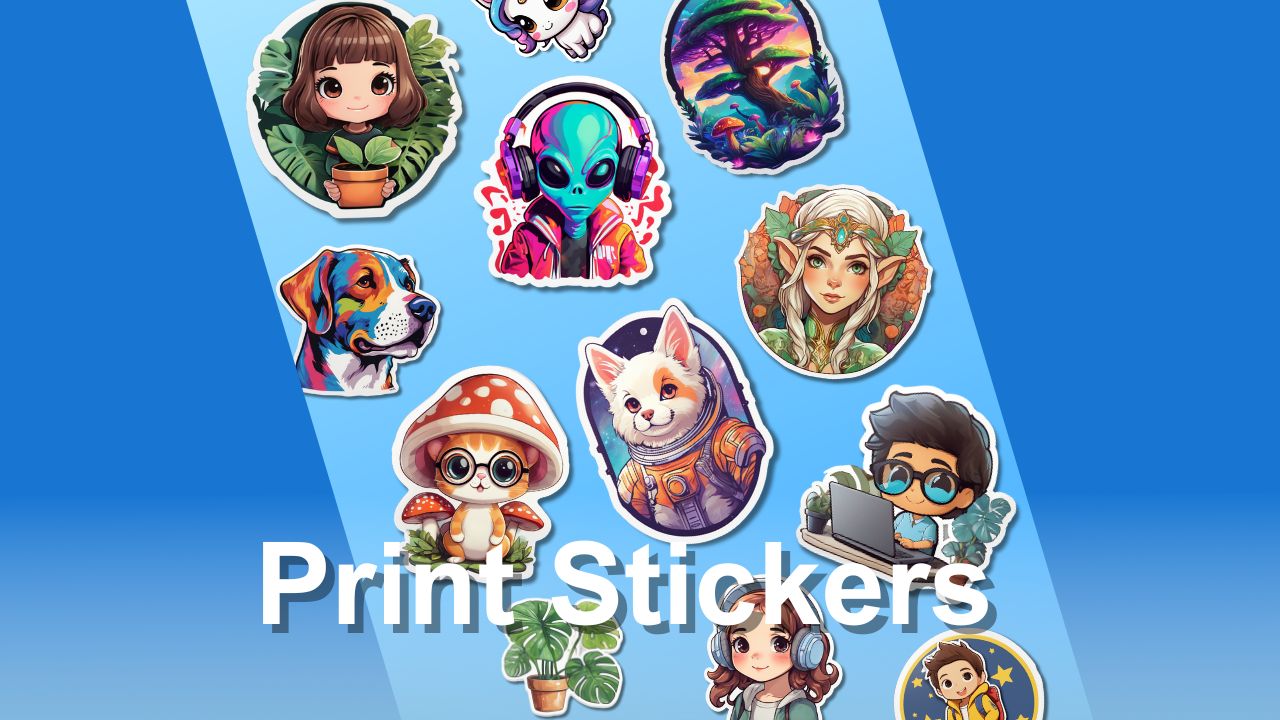
Creating vibrant, professional-looking stickers starts with great design but depends on accurate printing. Whether you are making stickers for personal projects, branding, or resale, understanding the key factors for printing high-quality stickers helps your designs stand out with clarity and durability. In this guide, we'll explain the essential elements: resolution, color mode, file format, materials, sizing, and printing methods to help you achieve great results.
Let's get started.
Why High-Quality Sticker Printing Matters
High-quality stickers not only look professional but also withstand wear and tear, making them ideal for branding, product labeling, or personal use. Poor printing can lead to pixelated images, dull colors, or stickers that peel and fade quickly. By focusing on the right techniques and materials, you can create stickers that look good and last. Below, we outline the key factors to ensure your stickers meet high standards.
1. Use High-Resolution Designs for Crisp Results
To get sharp, clear stickers, your design must be high resolution, ideally 300 DPI (dots per inch) or higher. This resolution keeps fine details sharp, especially for smaller stickers where pixelation is more visible. Low-resolution images (e.g., 72 DPI) may look fine on screens but will appear blurry when printed.
How to Ensure High Resolution
- Create or export your design at 300 DPI or higher using tools like Adobe Photoshop, Illustrator, Affinity Designer, or Canva.
- If using AI-generated designs, check the output resolution from the generator and upscale if needed.
- Test your design by zooming in to check that details remain sharp.
Pro Tip: Always design at the final print size to avoid scaling issues that can reduce quality.
2. Choose the Right Color Mode: CMYK for Printing
Printers use the CMYK color mode (Cyan, Magenta, Yellow, Black) for accurate color reproduction, unlike the RGB mode (Red, Green, Blue) used for digital displays. Designing in CMYK helps ensure colors print as expected. RGB designs often look more vibrant on screens but can shift or look dull when printed if not converted to CMYK.
How to Convert to CMYK
- Use design software or free tools like GIMP or Canva to convert your design to CMYK before printing.
- Preview the CMYK version and adjust colors if needed, as some bright RGB colors may not convert perfectly.
- Check with your printing service for specific color profile requirements (e.g., U.S. Web Coated SWOP).
3. Select the Proper File Format
The file format you choose affects both quality and flexibility. For most sticker designs, PNG and JPEG are the most common formats:
- PNG: Best for stickers with transparent backgrounds, such as die-cut or clear stickers. PNGs support transparency and maintain high quality, making them suitable for many designs.
- JPEG: Good for stickers with solid backgrounds, offering decent quality with smaller file sizes. However, JPEGs do not support transparency.
- Additional Formats:
- PDF: Often required by professional printers because it is flexible and can include bleed and crop marks.
- TIFF: A high-quality option for professional printing, but with larger file sizes.
Tip: Always check your printer's file requirements and export your design with no compression to preserve quality.
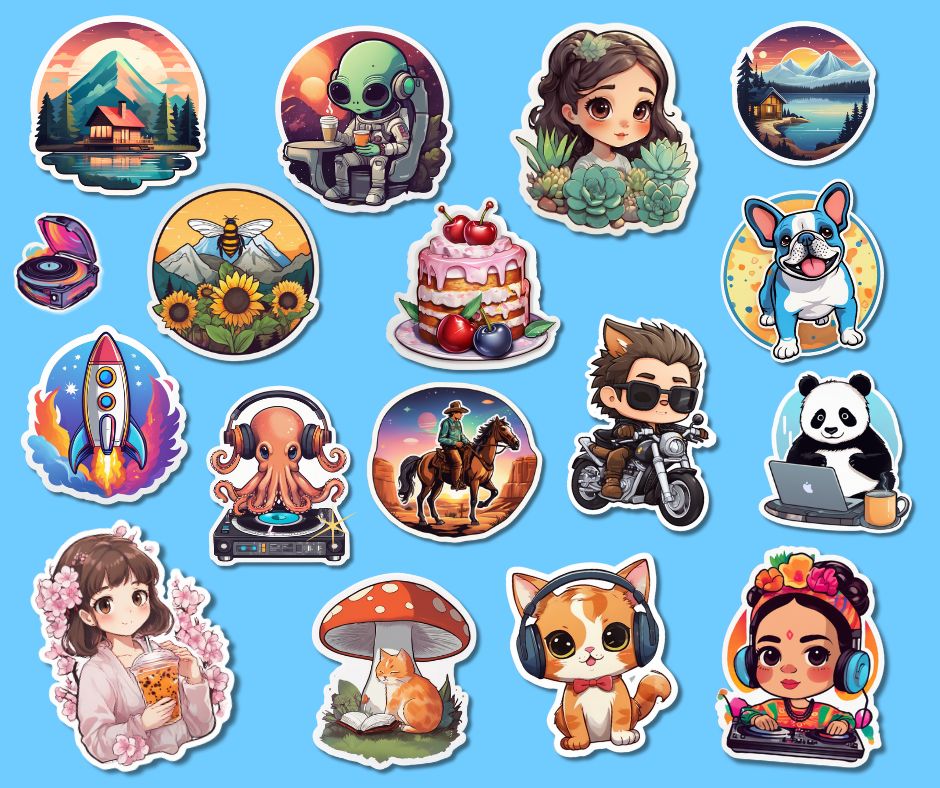
4. Pick Quality Materials for Durability and Appeal
The material you choose for your stickers affects their durability, appearance, and use. Here are some common options:
- Vinyl: Durable, weather-resistant, and suitable for outdoor stickers (e.g., car decals, water bottle labels). Vinyl resists moisture, UV rays, and wear.
- Paper: Budget-friendly but less durable, best for indoor use or short-term stickers.
- Specialty finishes:
- Glossy: Increases color vibrancy and adds a shiny, noticeable look.
- Matte: Offers a smooth, professional appearance with no glare.
- Holographic or Clear: Adds a distinctive look for creative designs.
- Choosing the Right Material:
- Consider your sticker's purpose: outdoor use typically needs vinyl, while indoor decorative stickers often work well on paper.
- Check with your printing service for material options and samples to ensure the look and feel you want.
5. Ensure Accurate Sizing for Perfect Proportions
Sticker size is critical for both aesthetics and functionality. Designing at the correct size prevents distortion or pixelation during printing. Common sticker sizes include 2x2 inches for small decals or 4x4 inches for larger designs.
How to Get Sizing Right?
- Design at the actual print size or scale proportionally (e.g., a 2x2-inch sticker should be created at 600x600 pixels at 300 DPI).
- Include a bleed area (typically 0.125 inches) to account for cutting inaccuracies, as required by most printers.
- Test your design at the intended size to confirm text and details remain legible.
Pro Tip: Request your printer's sizing guidelines and templates to ensure your design aligns perfectly with their specifications.
6. Professional Printing vs. Home Printing: Which Is Best?
Your printing method impacts quality and consistency.
Professional Printing
- Benefits:
- Consistent, high-quality results with precise cutting (e.g., die-cut or kiss-cut stickers).
- Access to durable materials like vinyl and specialty finishes.
- Bulk printing options for cost efficiency.
- Considerations:
- Verify the printer’s file requirements (e.g., resolution, bleed, format) to avoid errors.
- Popular services or local print shops offer reliable options.
- Request a proof or sample before large runs to ensure accuracy.
Home Printing
- Benefits:
- Cost-effective for small batches or prototypes.
- Full control over the printing process, ideal for quick turnaround.
- Considerations:
- Use high-quality printable sticker paper compatible with your inkjet or laser printer.
- Invest in a cutting machine (like Cricut) for precise cuts.
- Laminate for Durability: Run printed sticker sheets through a laminator for a glossy, protective finish. This step is crucial for stickers used on water bottles, laptops, or outdoor surfaces, as it protects against moisture and wear.
- Test First: Print a single test sticker to check colors, alignment, and adhesion before producing in bulk.
In Conclusion: Print Stickers That Stand Out
By focusing on high resolution, CMYK color mode, proper file formats, quality materials, accurate sizing, and the right printing method, you can produce high-quality stickers that look professional and last. Whether you opt for professional printing services or DIY home printing, these key factors ensure your stickers make a lasting impression.
Ready to start printing? Create new stickers with Img2Go, choose a trusted provider, test your designs, and bring your creative vision to life!